How To Repair a Surfboard: 9 Step Guide!
Knowing how to repair a surfboard is something every surfer should know. Of course first analysing whether the damage is worthy of home repair as a pose to professional repair is important too!
Let's go through this 9 step guide into how to repair a surfboard so any damages and dings can be fixed by you at home!
How To Repair a Surfboard?
To repair a surfboard, first, clean and dry the damaged area, then use epoxy resin and fibreglass cloth to patch any dings or cracks, ensuring a smooth finish for optimal performance.
Sand the repaired area once the resin is cured, and finish with a coat of wax for a polished look.
This is a summarised description on how to repair a surfboard of any type, let's get into the 9 step guide!
Step by Step How To Repair a Surfboard
Once you have assessed the damage of your surfboard and you believe it is fit for home repair you can begin this step by step guide.
It's always best to get an opinion off a professional surfboard shaper or repair shop before you begin any repairs.
Materials Needed To Repair a Surfboard
- Surfboard repair kit (should include resin, hardener, fibreglass cloth, mixing cups, mixing sticks, sandpaper, and a scraper)
- Razor blade or sandpaper
- Masking tape
- Wax remover
- Rubbing alcohol
- Clean rags or paper towels
Step 1 - Assess The Damage
Assess the damage carefully, examine your surfboard and determine the extent of the damage. If it's just a minor ding, you may be able to fix it with a simple repair. However, if the damage is more extensive, it may require professional repair or even replacement.
Step 2 - Remove The Wax
Remove the wax before you start repairing your surfboard, you need to remove any wax or other debris from the area around the damage. Use a wax remover and a clean rag or paper towel to clean the area thoroughly. Then, use rubbing alcohol to remove any remaining residue.
Step 3 - Prepare The Repair Materials
Prepare the repair materials, mix the resin and hardener according to the instructions on your repair kit. Be sure to work in a well-ventilated area and wear protective gloves to avoid contact with the chemicals.
Step 4 - Apply The Resin
Apply the resin, use a scraper or a razor blade to smooth out the damaged area. Then, apply a small amount of resin to the damaged area using a mixing stick. Spread it evenly over the area and be sure to cover the entire damaged area.
Step 5 - Apply The Fibreglass Cloth
Apply the fibreglass cloth, cut a piece of fibreglass cloth that is slightly larger than the damaged area. Lay it over the resin and press it down gently. Use your fingers or a brush to smooth out any wrinkles or bubbles.
Step 6 - Apply More Resin
Apply more resin, apply another layer of resin over the fibreglass cloth, making sure to cover the entire area. Smooth out the resin with a brush or mixing stick.
Step 7 - Let It Dry
Let it dry. Let the repair dry for several hours, or until the resin is hard to the touch.
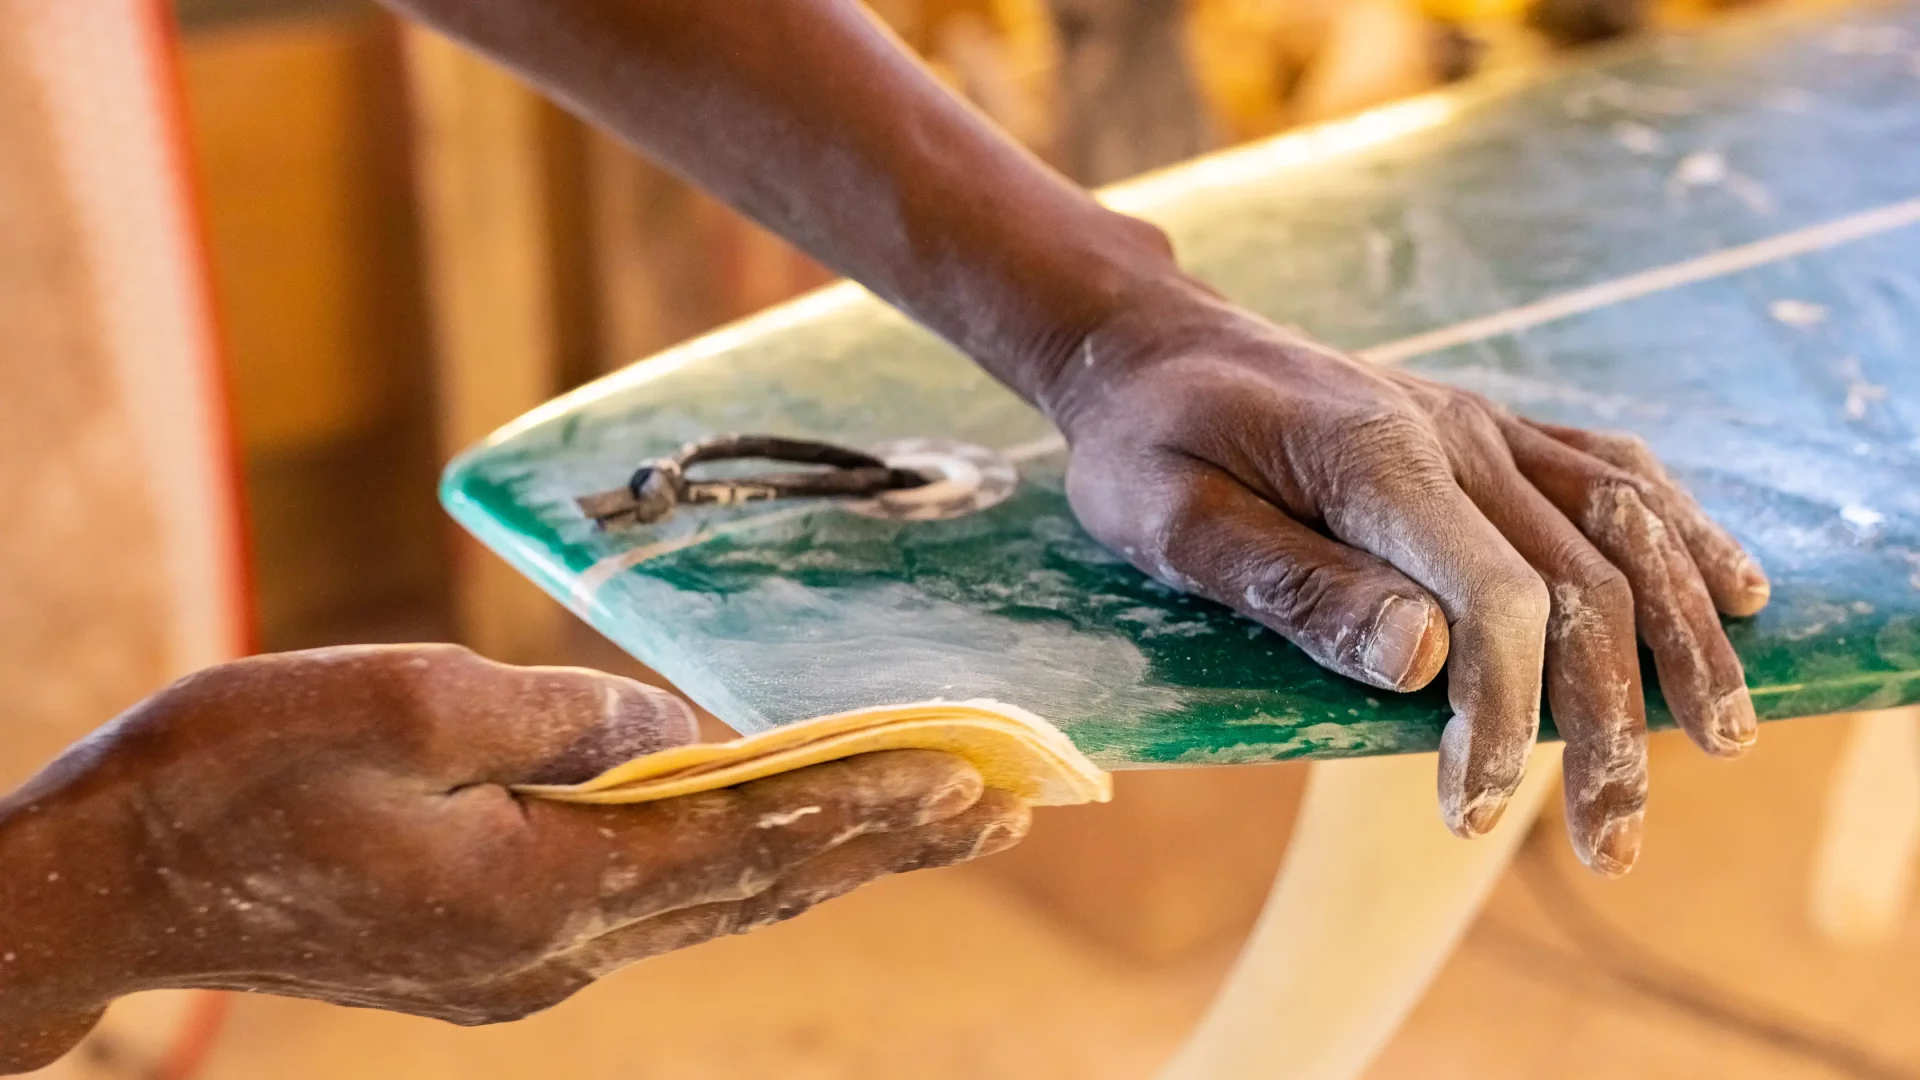
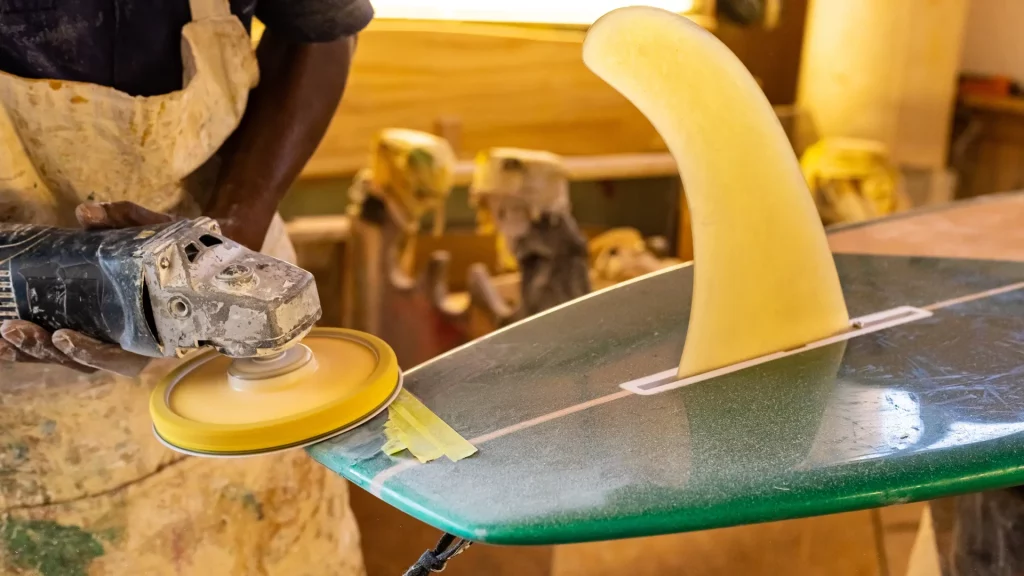
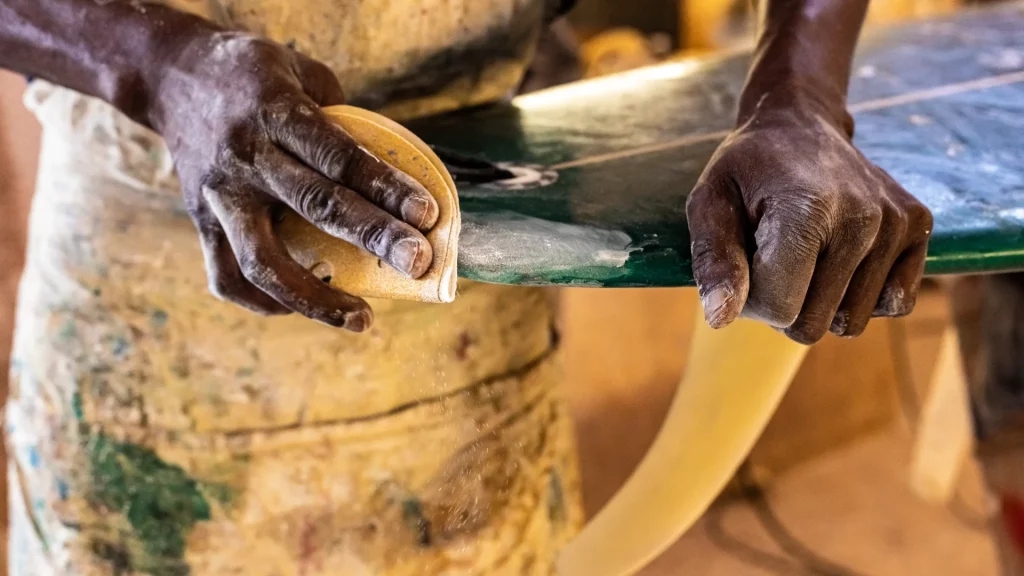
Step 8 - Sand The Repair
Sand the repair, use sandpaper to sand down the repair, making it flush with the surrounding area. Be sure to wear a mask to avoid inhaling any dust.
Step 9 - Finish The Repair
Finish the repair, apply a layer of wax to the repaired area to restore its grip. Use masking tape to cover the area around the repair to avoid getting wax on other parts of the board.
And that's it! With a little bit of time and patience, you can easily repair your surfboard and get back out on the waves.
Factors To Consider When You Repair a Surfboard
There are several factors to consider when determining if a surfboard is beyond repair. Here are some things to look for:
- Degree Of Damage: Large holes and cracks along the entire length of the panel may not be repaired.
- Exfoliation: Once the fibreglass layer of the surfboard has separated from the foam core, it can be difficult or impossible to repair. This is because the fibreglass layer provides structural support and rigidity to the board.
- Drenched: If your board is exposed to water for too long, it can become submerged and lose its buoyancy. This puts the board out of action and difficult to repair.
- Board Age: Old surfboards can be difficult to repair due to age and condition. If the board already shows signs of wear, it may not be worth repairing.
Repair Cost: Finally, it's important to consider the cost of repairing your surfboard versus buying a new one. In some cases, it may be less expensive to simply replace the board than to repair it.
If you are unsure whether your surfboard can be repaired, we recommend having it inspected by a professional surfboard repair shop. They can give you an expert opinion and advise you on the best course of action.
How To Repair a Surfboard Video
Here is a detailed video if you are still uncertain on how to repair a surfboard.
Surfboard Repair Cost
Surfboard repair costs can vary depending on the extent of damage and the type of repairs needed.
Small dings and cracks are often more affordable to fix, ranging from $20 to $50. However, major repairs, such as fixing a broken board, may cost anywhere from $75 to $200 or more.
It's essential to consider professional repairs for extensive damage, ensuring the board's structural integrity and optimal performance. Some surfers also opt for DIY repair kits to address minor issues, which can be a cost-effective solution for small damages such as fin repairs.
How To Repair a Surfboard Nose
Repairing a surfboard nose is a straightforward process that can be done at home. Start by cleaning the damaged area and removing any loose debris. Use a suitable epoxy resin and fiberglass cloth to patch the nose, ensuring a secure bond.
Once the resin cures, sand the repaired area to create a smooth finish. Applying a final coat of wax not only adds a polished look but also improves the overall performance of the surfboard. This DIY approach is cost-effective and allows surfers to quickly get back on the waves.
How To Repair a Surfboard Tail
Fixing a damaged surfboard tail is a common repair task. Begin by cleaning and drying the affected area thoroughly. Apply epoxy resin to fill any dings or cracks in the tail, and reinforce the repair with fiberglass cloth. Allow the resin to cure, then sand the area to achieve a smooth finish.
The repaired tail should be sturdy, ensuring optimal performance on the water. This straightforward repair process is suitable for surfers looking to maintain their boards and extend their lifespan.
Can You Repair a Surfboard That is Broken in Half?
Attempting to repair a surfboard that is broken in half is a challenging task and often requires professional expertise. While minor cracks or separations can be addressed with epoxy resin and fiberglass, a board split in two requires specialized techniques.
Professional surfboard shapers and repair experts can use advanced methods such as lamination and structural reinforcement to restore a broken board. However, it's essential to evaluate the severity of the damage and consider factors such as the age and value of the board before deciding on repair or replacement.

Summing It Up: What To Do Now
Great, now you have a go to guide on how to repair a surfboard. Hopefully you will be back out on the water in no time!
TIP! Ensure you know your surfboard rail shapes as this can impact the method of how you repair a surfboard.
If your interested in learning more about surfing discover our many guides that will inform you on your surfing journey. Don't forget to follow us on Facebook & Instagram to stay informed on our amazing surf shots and stories shared from surf creators around the world!
Frequently Asked Questions
Can you repair a surfboard at home?
Yes, you can repair a surfboard at home, especially for minor damages like dings or cracks. DIY repair kits with epoxy resin and fiberglass cloth are available for surfers to address small issues and get their boards back in the water.
What is the best glue for surfboard repair?
Epoxy resin is considered the best glue for surfboard repair. It provides a strong and durable bond, ensuring the repaired area maintains its integrity. Epoxy is commonly used for fixing dings, cracks, and other damages on surfboards.
Is it worth fixing a snapped surfboard?
The decision to fix a snapped surfboard depends on factors like the severity of the damage, the board's age, and its value. While professionals can often restore snapped boards, it's crucial to assess whether repair costs are justified compared to purchasing a new board.
Can you repair a snapped surfboard?
Repairing a snapped surfboard is challenging and often requires professional assistance. While minor cracks can be fixed with epoxy and fiberglass, a fully snapped board may need advanced techniques such as lamination, best performed by skilled surfboard shapers.
How do you fix a wooden surfboard?
To fix a wooden surfboard, start by cleaning and drying the damaged area. Use epoxy resin and suitable wooden filler to patch any dings or cracks. Once the resin cures, sand the repaired area for a smooth finish, and consider applying a protective sealant to enhance the board's longevity.
Can you use epoxy to repair a surfboard?
Yes, epoxy is commonly used to repair surfboards. It provides a strong and resilient bond, making it suitable for various repairs such as filling dings, cracks, or attaching fins. Epoxy resin is a versatile and effective adhesive in surfboard repair.
